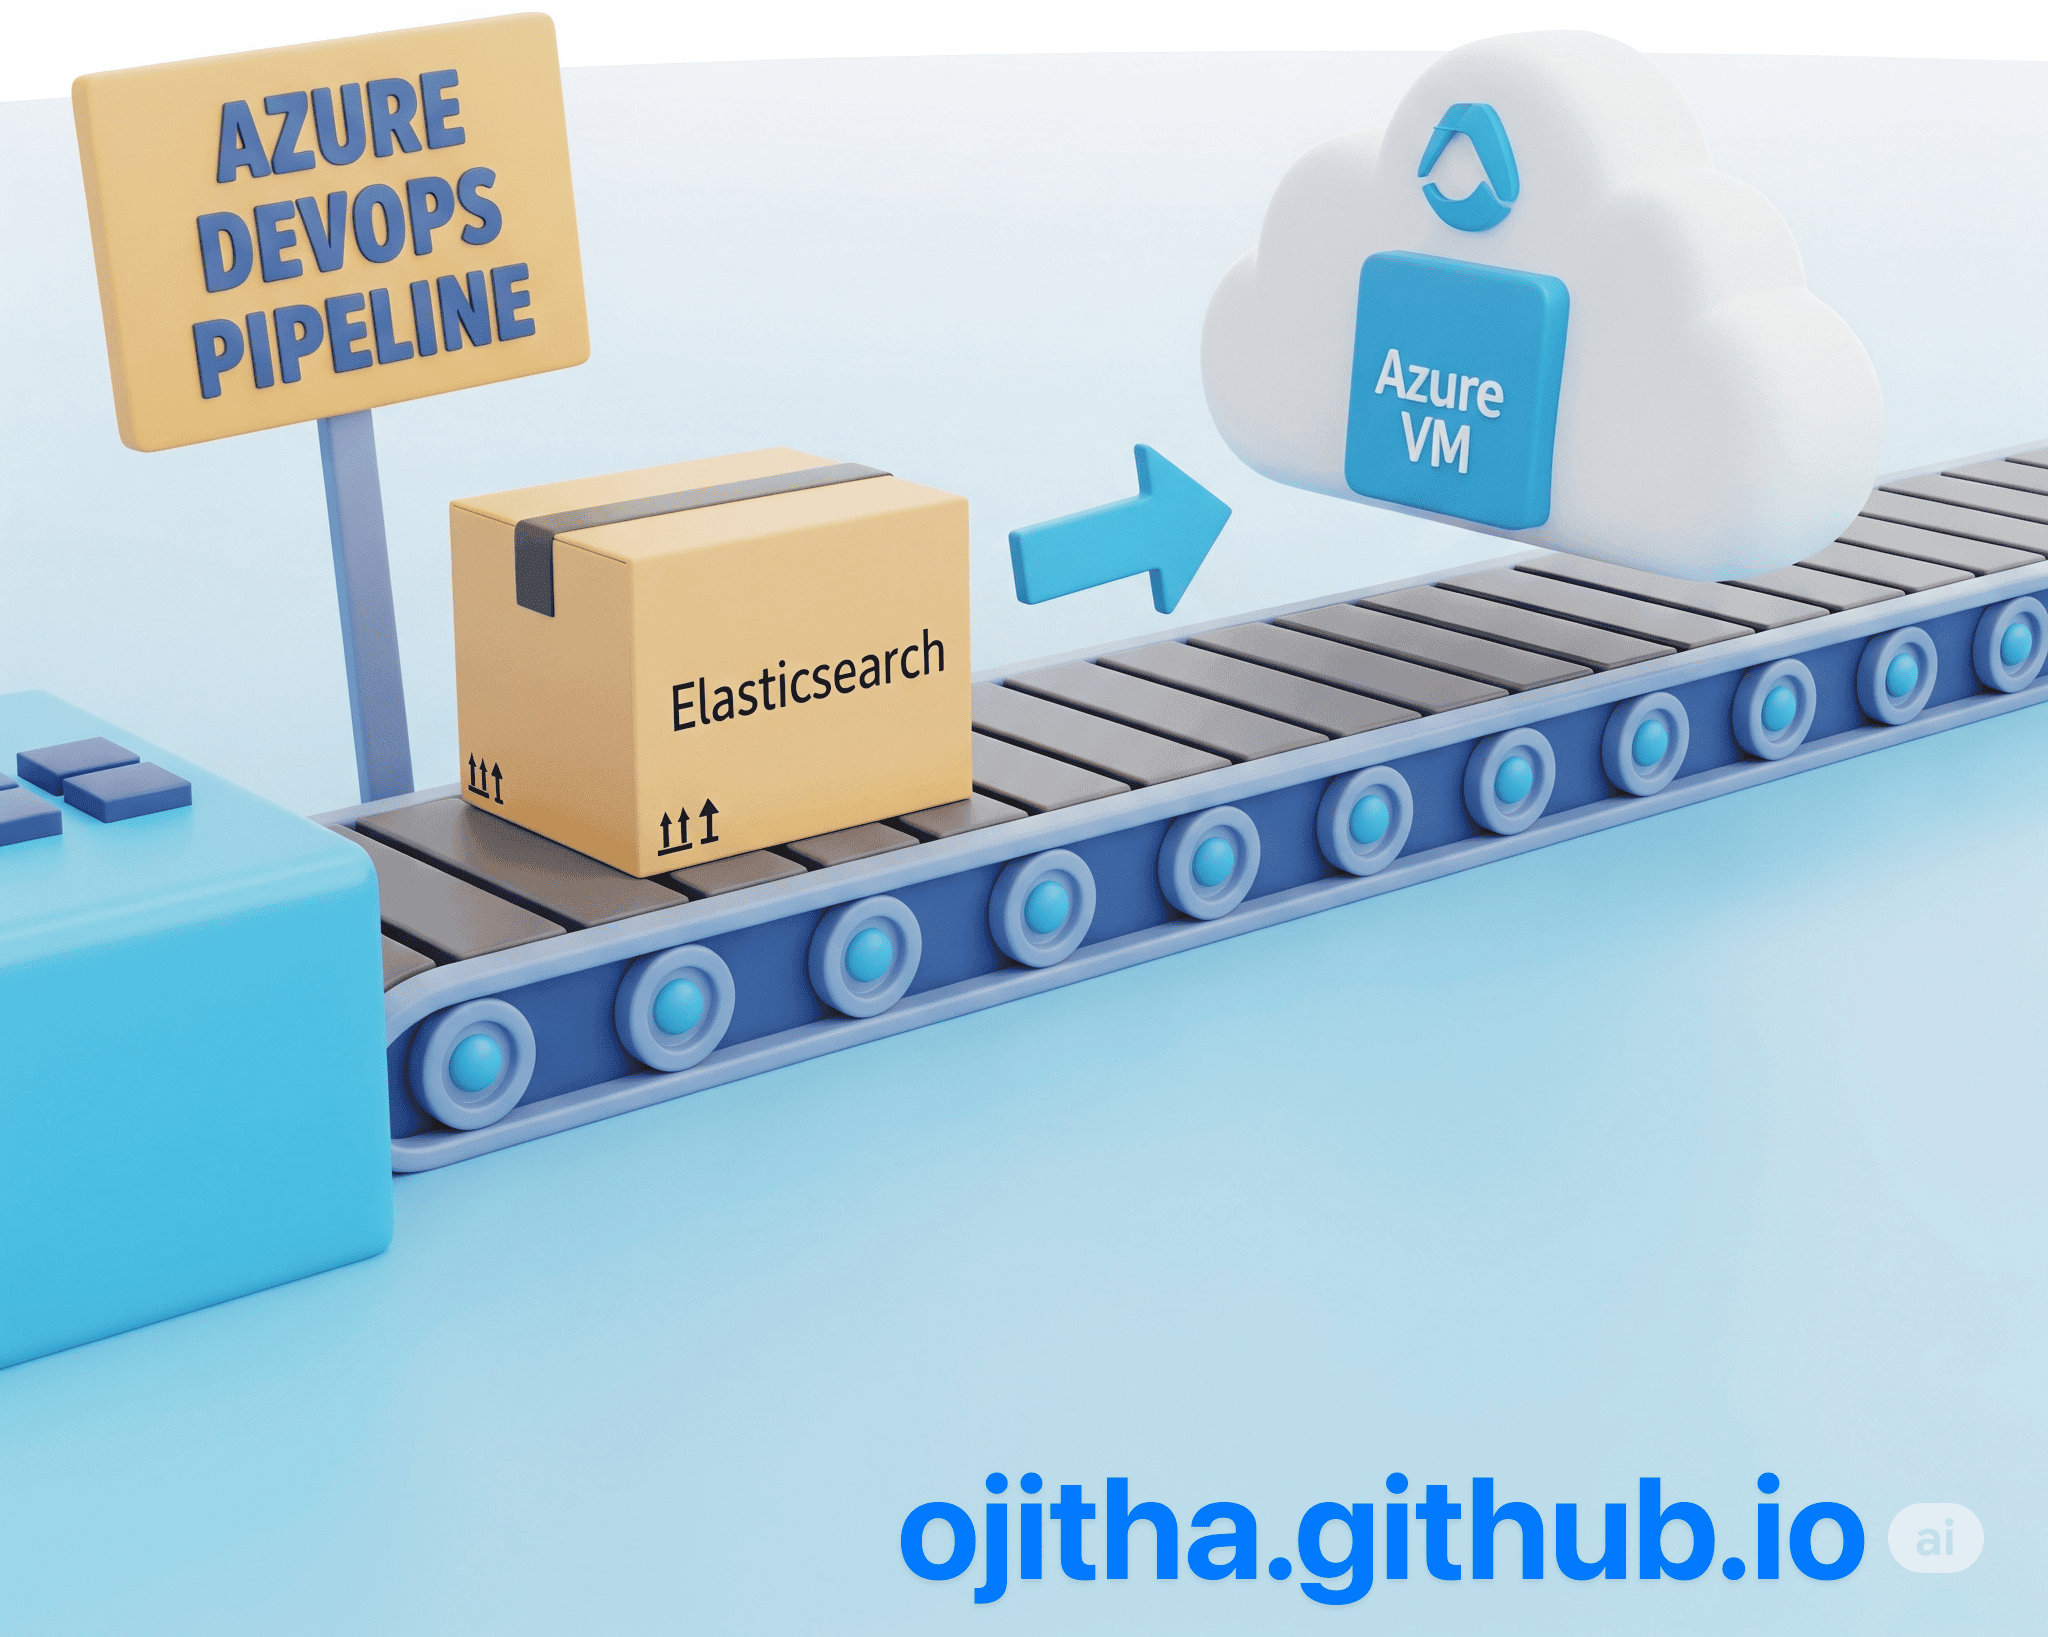
Azure DevOps pipeline to deploy Elasticsearch
This guide provides a comprehensive walkthrough for deploying an Elasticsearch application on an Azure Virtual Machine using an automated Azure DevOps pipeline. The process is broken down into four main parts: Azure VM Setup, Azure DevOps Pipeline Setup, Troubleshooting and Optimisation, and Security Recommendations.
- Setup Azure resource group
- Azure DevOps Pipeline Setup Guide
- Troubleshooting
- Security Recommendations
- Delete resource group
Setup Azure resource group
Azure VM
Install Azure CLI if not already installed
# macOS:
brew install azure-cli

# Login to Azure
az login
Let’s create the resources group
az group create \
  --name "rg-elasticsearch-dev" \
  --location "East US"
💥 It is essential to note that if you don’t delete the resource group, it will continue to incur charges. Please check the end of this post.
Create a virtuale machine:
az vm create \
  --resource-group "rg-elasticsearch-dev" \
  --name "vm-elasticsearch-dev" \
  --image "Ubuntu2204" \
  --size "Standard_B2s" \
  --admin-username "azureuser" \
  --generate-ssh-keys \
  --public-ip-sku Standard \
  --location "East US"
Configure Public DNS (Recommended)
# Create a unique DNS prefix
DNS_PREFIX="elasticsearch-$(date +%s)"

az network public-ip update \
  --resource-group "rg-elasticsearch-dev" \
  --name "vm-elasticsearch-devPublicIP" \
  --dns-name "$DNS_PREFIX"
Open Required Ports
# HTTPS port for Kibana
az network nsg rule create \
  --resource-group "rg-elasticsearch-dev" \
  --nsg-name "vm-elasticsearch-devNSG" \
  --name "Allow-Kibana-HTTPS" \
  --priority 1001 \
  --access Allow \
  --protocol Tcp \
  --destination-port-ranges 8443

# HTTP port for Kibana (redirects to HTTPS)
az network nsg rule create \
  --resource-group "rg-elasticsearch-dev" \
  --nsg-name "vm-elasticsearch-devNSG" \
  --name "Allow-Kibana-HTTP" \
  --priority 1002 \
  --access Allow \
  --protocol Tcp \
  --destination-port-ranges 8080
If you need new rule, check what priorites are enabled
az network nsg rule list \
  --resource-group "rg-elasticsearch-dev" \
  --nsg-name "vm-elasticsearch-devNSG" \
  --query "[].{Name:name, Priority:priority, Port:destinationPortRange}" \
  --output table
Output:
Name                 Priority    Port
------------------   ----------  ------
default-allow-ssh    1000        22
Allow-Kibana-HTTPS   1001        8443
Allow-Kibana-HTTP    1002        8080
If you want to enable standard ports 443:
az network nsg rule create \
  --resource-group "rg-elasticsearch-dev" \
  --nsg-name "vm-elasticsearch-devNSG" \
  --name "Allow-HTTPS-Standard" \
  --priority 1003 \
  --access Allow \
  --protocol Tcp \
  --destination-port-ranges 443
📊 Azure NSG Priority System
Azure NSG rules need unique priorities between 100-4096:
| Priority | Typical Use |
|---|---|
| 100-299 | High priority (critical services) |
| 300-999 | Standard services |
| 1000-1999 | Common services (SSH typically uses 1000) |
| 2000-4096 | Low priority rules |
Get VM Details
az vm show -d \
  --resource-group "rg-elasticsearch-dev" \
  --name "vm-elasticsearch-dev" \
  --query "{Name:name, PublicIP:publicIps, FQDN:fqdns, PrivateIP:privateIps}" \
  --output table
Test SSH Connection
# Replace with your VM's public IP or FQDN
ssh azureuser@YOUR_VM_IP_OR_FQDN
If you want to stop, deallocate
az vm stop --resource-group "rg-elasticsearch-dev" --name "vm-elasticsearch-dev" && \
az vm deallocate --resource-group "rg-elasticsearch-dev" --name "vm-elasticsearch-dev"
and start again
az vm start --resource-group "rg-elasticsearch-dev" --name "vm-elasticsearch-dev"
Azure DevOps Pipeline Setup Guide
Prerequisites
- Azure VM created (above)
- SSH access to the VM is working
- Azure DevOps organization:
https://dev.azure.com/<your orginaisation>
Step 1: Create SSH Service Connection
1.1 Get SSH Private Key
On your local machine (where you created the VM):
# Display your private key
cat ~/.ssh/id_rsa

# Copy the entire content including headers:
# -----BEGIN OPENSSH PRIVATE KEY-----
# ...key content...
# -----END OPENSSH PRIVATE KEY-----
1.2 Create Service Connection in Azure DevOps
- Go to https://dev.azure.com/…
- Select your project
- Navigate to Project Settings (bottom left)
- Click Service connections
- Click Create service connection
- Choose SSH and click Next
1.3 Configure SSH Connection
Fill in these details:
Connection name: elasticsearch-vm-connection
Host name: [YOUR_VM_PUBLIC_IP_OR_FQDN]
Port number: 22
User name: azureuser
Private key: [PASTE YOUR SSH PRIVATE KEY HERE]
1.4 Verify Connection
Click Verify to test the connection, then Save.
Step 2: Create Environment
2.1 Create Production Environment
- Go to Pipelines → Environments
- Click Create environment
- Configure:
Name: elasticsearch-production Description: Production environment for Elasticsearch deployment - Click Create
2.2 Add VM Resource (Optional)
- In the environment, click Add resource
- Choose Virtual machines
- Select Linux
- Use the SSH connection details to add your VM
Step 3: Set Up the Pipeline
3.1 Update Pipeline Variables
Your azure-pipelines.yml already has good configuration. Verify these variables match your VM:
variables:
  vmResourceGroup: 'rg-elasticsearch-dev'
  vmName: 'vm-elasticsearch-dev'
  vmAdminUser: 'azureuser'
  serverDomain: '[YOUR_VM_FQDN]'  # Update this!
3.2 Update Server Domain
Replace [YOUR_VM_FQDN] with your actual VM domain. Get it by running:
az vm show -d \
  --resource-group "rg-elasticsearch-dev" \
  --name "vm-elasticsearch-dev" \
  --query "fqdns" \
  --output tsv
3.3 Create the Pipeline
- Go to Pipelines → Pipelines
- Click Create Pipeline
- Choose Azure Repos Git (or your repo location)
- Select your repository
- Choose an Existing Azure Pipelines YAML file
- Select
/azure-pipelines.yml - Click Continue
3.4 Review and Save
- Review the pipeline configuration
- Click Save and run
Step 4: Update Environment File for Remote Deployment
Your pipeline automatically handles this. The file .env.template will be copied and modified as required.
Step 5: Run the Pipeline
5.1 Manual Trigger
- Go to your pipeline
- Click Run pipeline
- Select the branch (usually
main) - Click Run
5.2 Monitor Deployment
The pipeline will:
- Build Stage: Prepare deployment artifacts
- Deploy Stage: Deploy to your VM
- Post-Deployment: Verify the deployment
5.3 Check Deployment Logs
Monitor each stage for any issues:
- Prepare VM Environment: Install Docker, Docker Compose
- Copy Application Files: Transfer your code
- Deploy Application: Start the services
- Verify Deployment: Health checks
Step 6: Verify Deployment
6.1 Check Pipeline Success
Ensure all stages complete successfully.
6.2 Test Remote Access
Replace [YOUR_VM_FQDN] with your actual domain:
# Test HTTP (should redirect to HTTPS)
curl -I http://[YOUR_VM_FQDN]:8080

# Test HTTPS (ignore SSL warnings for self-signed cert)
curl -k https://[YOUR_VM_FQDN]:8443/api/status
6.3 Access Kibana
Open in browser:
https://[YOUR_VM_FQDN]:8443
Default credentials:
- Username:
elastic - Password:
changeme
Troubleshooting
Common Issues
It is essential to know that
- Use
runOptions: 'inline'instead ofrunOptions: 'commands'for complex conditionals. - The
inlineoption treats your code as a proper bash script. - The
commandsoption has parsing limitations with multi-line if statements.
Method 1: Chained Commands (Simple cases)
# OLD (Broken)
commands: |
  cd $(deploymentPath)
  docker-compose up -d

# NEW (Fixed)
commands: |
  cd $(deploymentPath) && docker-compose up -d
Method 2: Single Script Session (Complex cases)
# For tasks with multiple directory-dependent commands
runOptions: 'inline'  # This runs as a single script!
inline: |
  #!/bin/bash
  set -e
  cd $(deploymentPath)
  # All commands run in same session now
  docker-compose up -d
  ./manage.sh health
Upgrade to 16GB RAM (Recommended):
bash
az vm stop --resource-group "rg-elasticsearch-dev" --name "vm-elasticsearch-dev" && \
az vm deallocate --resource-group "rg-elasticsearch-dev" --name "vm-elasticsearch-dev" && \
az vm resize --resource-group "rg-elasticsearch-dev" --name "vm-elasticsearch-dev" --size "Standard_B4ms" && \
az vm start --resource-group "rg-elasticsearch-dev" --name "vm-elasticsearch-dev" && \
echo "✅ VM upgraded to 16GB RAM (Standard_B4ms)"
Upgrade to 8GB RAM (Budget Option):
bash
az vm stop --resource-group "rg-elasticsearch-dev" --name "vm-elasticsearch-dev" && \
az vm deallocate --resource-group "rg-elasticsearch-dev" --name "vm-elasticsearch-dev" && \
az vm resize --resource-group "rg-elasticsearch-dev" --name "vm-elasticsearch-dev" --size "Standard_D2s_v3" && \
az vm start --resource-group "rg-elasticsearch-dev" --name "vm-elasticsearch-dev" && \
echo "✅ VM upgraded to 8GB RAM (Standard_D2s_v3)"
Upgrade to 32GB RAM (High Performance):
bash
az vm stop --resource-group "rg-elasticsearch-dev" --name "vm-elasticsearch-dev" && \
az vm deallocate --resource-group "rg-elasticsearch-dev" --name "vm-elasticsearch-dev" && \
az vm resize --resource-group "rg-elasticsearch-dev" --name "vm-elasticsearch-dev" --size "Standard_D8s_v3" && \
az vm start --resource-group "rg-elasticsearch-dev" --name "vm-elasticsearch-dev" && \
echo "✅ VM upgraded to 32GB RAM (Standard_D8s_v3)"
🔧 After Resize - Update Elasticsearch
Get VM Connection Info:
bash
az vm show -d --resource-group "rg-elasticsearch-dev" --name "vm-elasticsearch-dev" --query "{IP:publicIps, FQDN:fqdns}" --output table
1. SSH Connection Fails
# Test manual SSH
ssh azureuser@[YOUR_VM_IP]

# Check if port 22 is open
az network nsg rule list \
  --resource-group "rg-elasticsearch-dev" \
  --nsg-name "vm-elasticsearch-devNSG" \
  --query "[?name=='default-allow-ssh']"
2. Docker Installation Fails
The pipeline installs Docker automatically, but if it fails:
# SSH into VM and install manually
ssh azureuser@[YOUR_VM_IP]
curl -fsSL https://get.docker.com | sudo sh
sudo usermod -aG docker $USER
3. Services Don’t Start
# SSH into VM and check
ssh azureuser@[YOUR_VM_IP]
cd /opt/elasticsearch
sudo docker-compose logs -f
4. Firewall Issues
# Check Ubuntu firewall
sudo ufw status

# Allow ports if needed
sudo ufw allow 8443
sudo ufw allow 8080
Pipeline Failure Recovery
If the pipeline fails:
- Check the logs in Azure DevOps
- Fix the issue in your code
- Commit and push the changes
- Re-run the pipeline
Manual Deployment (Fallback)
If the pipeline doesn’t work, you can deploy manually:
# SSH into VM
ssh azureuser@[YOUR_VM_IP]

# Install dependencies
sudo apt update
curl -fsSL https://get.docker.com | sudo sh
sudo usermod -aG docker $USER

# Clone your repo or copy files
git clone [YOUR_REPO_URL]
cd [YOUR_PROJECT_FOLDER]

# Start services
./manage.sh start
Security Recommendations
Change Default Passwords
Before production use:
- Update
.envfile with strong passwords - Redeploy the application
- Update any documentation with new credentials
SSL Certificates
For production, consider:
- Let’s Encrypt for free SSL certificates
- Azure Key Vault for certificate management
- Custom domain for better branding
Delete resource group
As a first step, list the subscriptions:
az account list --query "[?state=='Enabled'].{Name:name, SubscriptionId:id}" --output table
If you have one more active subscription, you have to set.
az account set --subscription "<your-subscription-id>"
To delete the resource group:
az group delete --name rg-elasticsearch-dev --yes --no-wait